Running the PetaLinux OS Image
After the SDcard has been properly imaged, insert the card into your ZUBoard 1CG board.
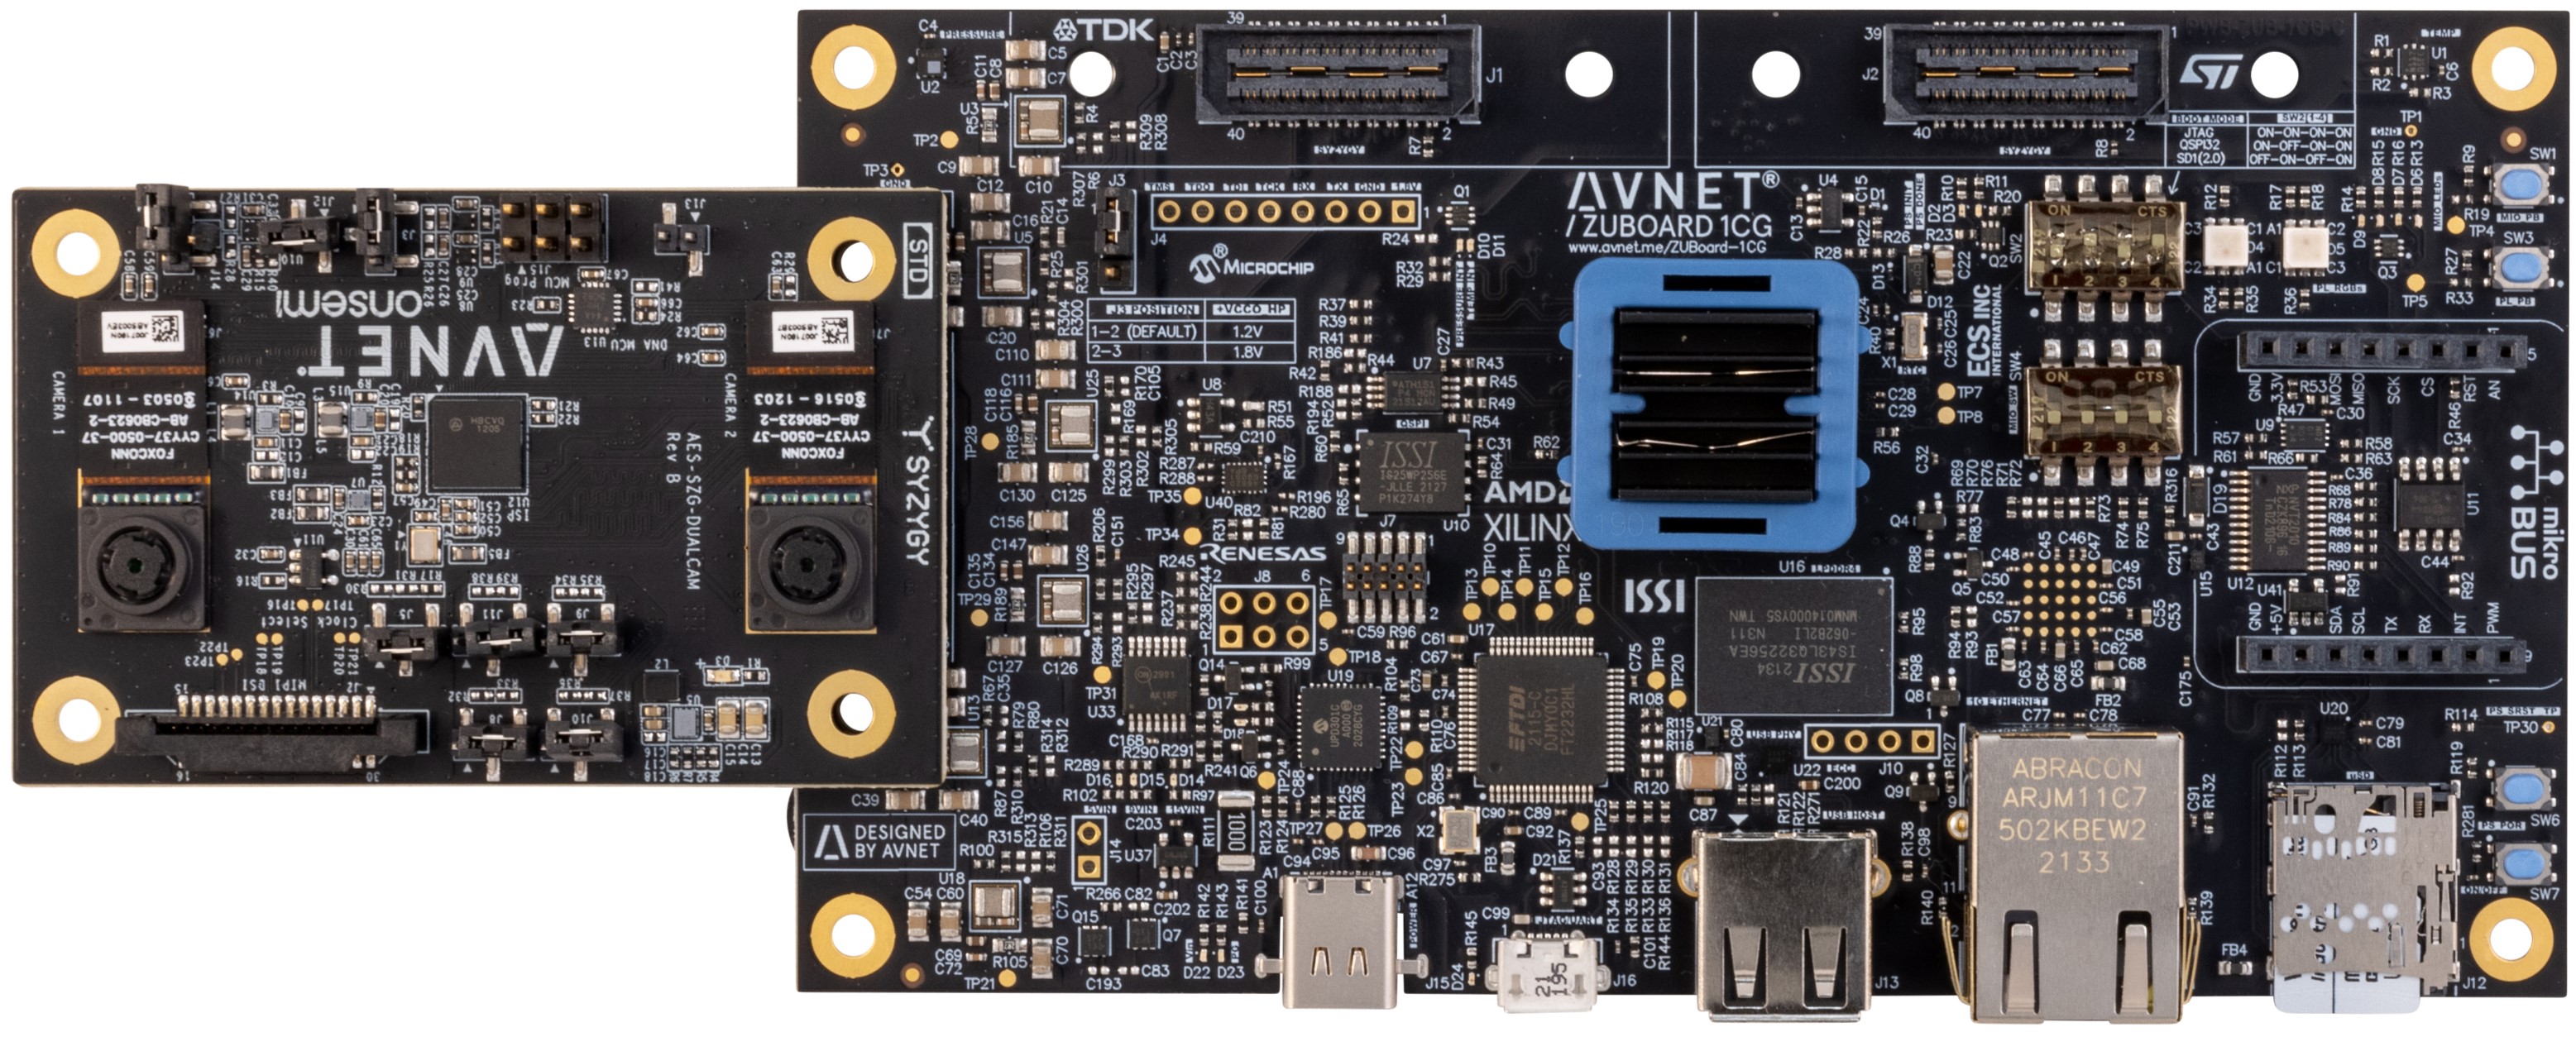
Install the Avnet DP-eMMC HSIO module on the “J2” HSIO connector. Optionally you may also wish to connect a USB keyboard. Be sure to connect a 1080p video monitor to the mini-DP connector (J3) on the DP-eMMC board.
Set the boot mode switches (SW2) for SD card boot (1-4 off-on-off-on).

- Connect the board to the USB-C power adapter 15V/45W and press the power switch (SW7) to turn on the board. Once the board boots you will be prompted for login credentials.
Login: root (no password required)
- Open a UART console connection to the ZUBoard 1CG
Baud 115200
8 bits
No parity
1 stop bit
At the command prompt change to the avnet_dualcam_python_examples folder and launch the Python example.
$ cd ~/avnet_dualcam_python_examples
$ python3 ./avnet_dualcam_passthrough.py
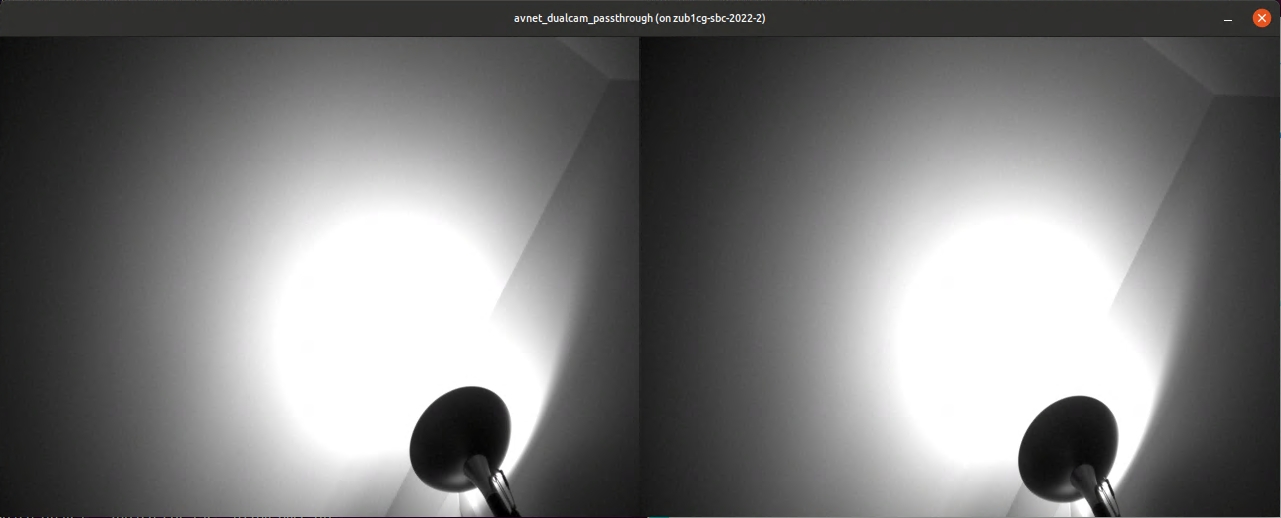
Press <ctrl>-c to close the demo window. There is also a Python anaglyph application example that can be run.
$ python3 ./avnet_dualcam_anaglyph.py

Press <ctrl>-c to close the demo window.
Going Further
Check out the many projects and application examples posted on Hackster.io that highlight the use of the Avnet DP-eMMC HSIO module with the ZUBoard 1CG: